Come April I will have lived in this house for 14 years, and if there are two facts about it that I do not like, it is these:
- Whoever built it didn’t install Ethernet connections, but did see fit to wire up every room + the living room with coax drops.
- Depending on how you look at it, it is either very wide or very long. Either way, it is incredibly hostile to plain old Wi-Fi.
When we first moved in it was plain that the traditional Wi-Fi router that had worked well from a central location in our last house was not going to fare so well tucked away in the far corner of the house with the Comcast drop.
The problem with powerline
My first stab at the problem was a Powerline kit. It suggested decent performance on the box but didn’t work well in practice. A little troubleshooting later and I figured out that the switch/Comcast modem in the office were on a different circuit from the powerline adapter in the living room. It was okay enough to let the AppleTV stream, but not always well, and the laptops and phones were stuck with the distant Wi-Fi from upstairs.
Enter Eero
The next thing I did, years later, was buy an Eero setup. I put the base in my office with the Comcast drop, put a unit down the hall from there, and put a unit in the living room. That worked pretty well.
With the Eero setup, Ben and I had decent coverage on our end of the upstairs, the bedroom did okay from the living room beneath, and the living room was fine. Speed tests never broke 185-200Mbps, but we only had a 250Mbps connection and it wasn’t like I was moving large stuff around the network. Ben complained a little about ping latency once he was into games where that mattered, so I ran an Ethernet cable out of the switch in my office and into his room next door.
It was one of those deals where you get as far as you can go without doing the thing you probably should have just gone ahead and done, which was paying to have someone come wire us up for Ethernet. Or so I thought. We’ll get to that.
Getting CenturyLink
The Comcast/Xfinity connection was much better than their reputation suggests. I can only remember four or five outages of more than a few minutes over nearly 14 years. Only one went so long that I got frustrated and called support for an ETA, and was pleasantly surprised to work with a tech who explained what had happened, explained why they had blown their initial estimate, and sat with me to see if the thing they were about to try worked. I always got my promised speed, too.
The main pain I experienced came down to photo backups to the public cloud. It took weeks to get my library into an S3 bucket. When I decided I didn’t want to use Amazon anymore, the thought of switching backup providers was pretty daunting. The 250Mbps that was good enough for everyone to play games or stream movies wasn’t any good for 20 years of digital photography.
A layoff and some extra care with the budget also made me internalize that Comcast’s introductory offer had worn off eons ago and I was paying more than double what people with fiber connections were paying for a quarter of the speed they were getting. So I decided to try CenturyLink. I had the connection installed in parallel with the Comcast one in case something went horribly wrong for whatever reason.
In terms of pure performance, CenturyLink worked really well. They told me the cable had to be run pretty far to get to my house, so instead of “a whole gig”, they told me I could expect 940 megs or a little slower. Every speed test wired straight into their router netted me 940Mbps.
A few problems presented themselves, though:
- My Eero and CenturyLink’s ONT didn’t really like each other much.
- Once you know there’s upwards of 940Mbps available to anything in reach of a switch, it’s hard to crawl along at 200Mbps down in the living room.
The first problem was one of those things I couldn’t get past. You pay some premium for Eero stuff in part because it’s very plug-n-play and you get some routing functionality out of it. Not a ton, but enough to manage very basic home networking tasks like port forwarding.
The price for that plug-n-play convenience comes in the form of time lost dealing with it when something goes wrong. Not a ton goes wrong if you’re not doing much with the kit past swapping in updated hardware or normal tasks. Things can go very wrong if you step outside Eero’s sweet spot, which involves letting your ISP’s modem negotiate the connection but run in bridge mode, and letting the Eero step in as the router.
I got snagged by this because Comcast uses a cable modem/DHCP and CenturyLink uses an ONT and PPPoE (in some markets, not in others, check for yourself before taking any of my advice in the howto part below).
You can overcome the hiccups, but Eero doesn’t let you change the kind of Internet connection it expects without “deleting the network” and starting over. “Deleting the network” just means you deconfigure everything, step through a setup wizard using PPPoE for your upstream, then go through and re-onboard all your Eero access points.
That involves a ton of sitting around watching the light on the Eero pulse assorted colors and patterns, then finding out something went wrong somewhere, and starting over, or restarting the ONT and THEN starting over when it still doesn’t work, or restarting the ONT and it all seems to work and then Eero tries to do an update and dumps your config information and you have to delete the network and … and … and …
Ultimately, after a few retries, I decided I was not willing to live with an Internet connection that couldn’t survive a firmware update. With some regret I just put the Eero in bridge mode (effectively removing any of its value as a router) and turned those responsibilities over to the CenturyLink modem/router that came with my install.
People hate CenturyLink’s router, but I do have a few things to say in its defense:
- The admin console doesn’t work correctly in Safari, but works great with Chrome. See? Half full!
- It was reliable. No matter what was going wrong elsewhere in my setup, I could wire my Mac into it directly and it was where it belonged and it behaved.
- Unlike the Eero, even major configuration changes involved at most a reboot, which took under a minute or so.
- I got my promised speeds with it.
- It came back from an initial firmware update without a hiccup.
Its problems are that it looks like a gigantic air freshener, the interface is pretty clunky even when working correctly on a browser I prefer to avoid, and I didn’t trust it to keep behaving after the next firmware update, or the next, because I’ve been burned by ISP-owned gear in the past taking away functionality or just getting worse to deal with.
Replacing CenturyLink’s router
So the CenturyLink router needed to go and I needed to put something in its place that would “just work” and replace all the router functionality I’d lost with the Eero having to fall back to a simple bridge.
A little redditing and googling later, and I had a $50 Ubiquiti EdgeRouter X (ER-X) on the way.
The ER-X has five ports and is about the size of a small consumer Ethernet switch. It listens on an obvious address and is pretty easy to set up from the command line. Someone on reddit provided the recipe:
set interfaces ethernet eth0 duplex auto
set interfaces ethernet eth0 speed auto
set interfaces ethernet eth0 vif 201 description 'Internet (PPPoE)'
set interfaces ethernet eth0 vif 201 pppoe 0 default-route auto
set interfaces ethernet eth0 vif 201 pppoe 0 mtu 1492
set interfaces ethernet eth0 vif 201 pppoe 0 name-server auto
set interfaces ethernet eth0 vif 201 pppoe 0 password $YOURCLPPPOEPASSWORD
set interfaces ethernet eth0 vif 201 pppoe 0 user-id $YOURCLUSERID
It took a little fussing to get ssh access ironed out, and that was easier to manage from the config tree interface than the command line recipes I found, but now it’s accessible via the shell using 1Password’s ssh key manager, which I love.
Once I had the ER-X configured and talking to CenturyLink, I added my switch and Eero back in and everything worked fine. Making static DHCP assignments and port forwarding assignments was about the same as any consumer router I’ve ever seen.
ER-X tweaks and features
In order to get the full speed of my CenturyLink connection I had to make one other tweak to set up hardware offloading, which took my SpeedTest results from a disappointing 350Mbps to my promised speed of ~940Mbps.
The real test, and the point of the whole exercise, was to see if my $50 had bought me some reliability. A few restarts and three firmware updates later, I was satisfied: Each time the ER-X restarted, the PPPoE connection via the CenturyLink ONT came up just fine.
The ER-X also has built-in support for dynamic DNS. I’ve had a kind-of-dumb domain using Dyn’s service for years now. It has worked fine, but Cloudflare has some of my DNS and an API. Ubiquiti just so happens to use Cloudflare as an example for a custom DDNS setup on the ER-X, so I had that working in ten minutes, as well. The one snag I hit: You have to use the legacy API key Cloudflare provides to get the recipe to work with an ER-X.
Finally, I found a recipe to set up the ER-X’s web admin GUI with a Let’s Encrypt certificate, then automate renewals. That worked really well once I realized I needed to update cacert.pem on the ER-x for the scripts to work. I don’t intend to use the GUI outside my own network, but it’s nice to not have the cert nags from browsers.
Adding Moca to the mix
Even with the ER-X in place and helping to make my ’net connection reliable, I still had my original problem, which was the slow Wi-Fi speeds all over the house. The Eero was doing the best it could with what it had to work with, but the upstairs is kind of twisty and full of walls, and it’s a long hike from the part of the house where the drops come in down to the living room.
A few months ago, as I was bemoaning the my home’s terrible shape and Wi-Fi hating topography, a friend mentioned MOCA, which stands for “Multimedia over Coax Alliance.” The long and short of it is that you can get gigabit ethernet speeds using the MOCA standard. You just have to connect a small adapter with an Ethernet port to a coax jack and connect another small adapter with an Ethernet port to another coax jack, and you’ve got a pair of Ethernet drops.
The adapters are not that expensive – around $100 for a pair – and they require no configuration. You just plug them in to the coax drop, then connect a device to the Ethernet port (it can be a standalone device like a game console or PC, or it can be an Ethernet switch), and they create a connection that’s good for close to gigabit speeds.
The obvious caveat is that the coax jacks have to be connected via coax somehow.
How to get MOCA working starting from “five disconnected cables”
I ordered a pair of MOCA adapters without wandering over to the side of my house to see what my particular situation was. I’d seen a few boxes walking past all the cable entry points in the past and assumed that all the coax was connected.
So once I realized why everything wasn’t “just working” and my Eero access point in the living room was refusing to flip over to showing a wired Ethernet connection instead of a Wi-Fi connection, I went outside the house and saw the five coax ends sticking out of the house. Only one had a connector on the end.
A little redditing and googling later, and I learned I needed to:
- Figure out which cables led to which drops in the house.
- Add connectors to at least one of the cables and possibly two (the ones that would need to form a MOCA network from the office to the living room).
1. Coax discovery
In order to figure out which drop is connected to which cable coming into the house, you need to use a coax discovery tool. Since I had five drops to sort out and am lazy, I bought a Klein Coax Explorer with four color-coded remotes.
The Explorer doesn’t even have a manual, but if you know how it works you can figure out how to use it. Just look at it:
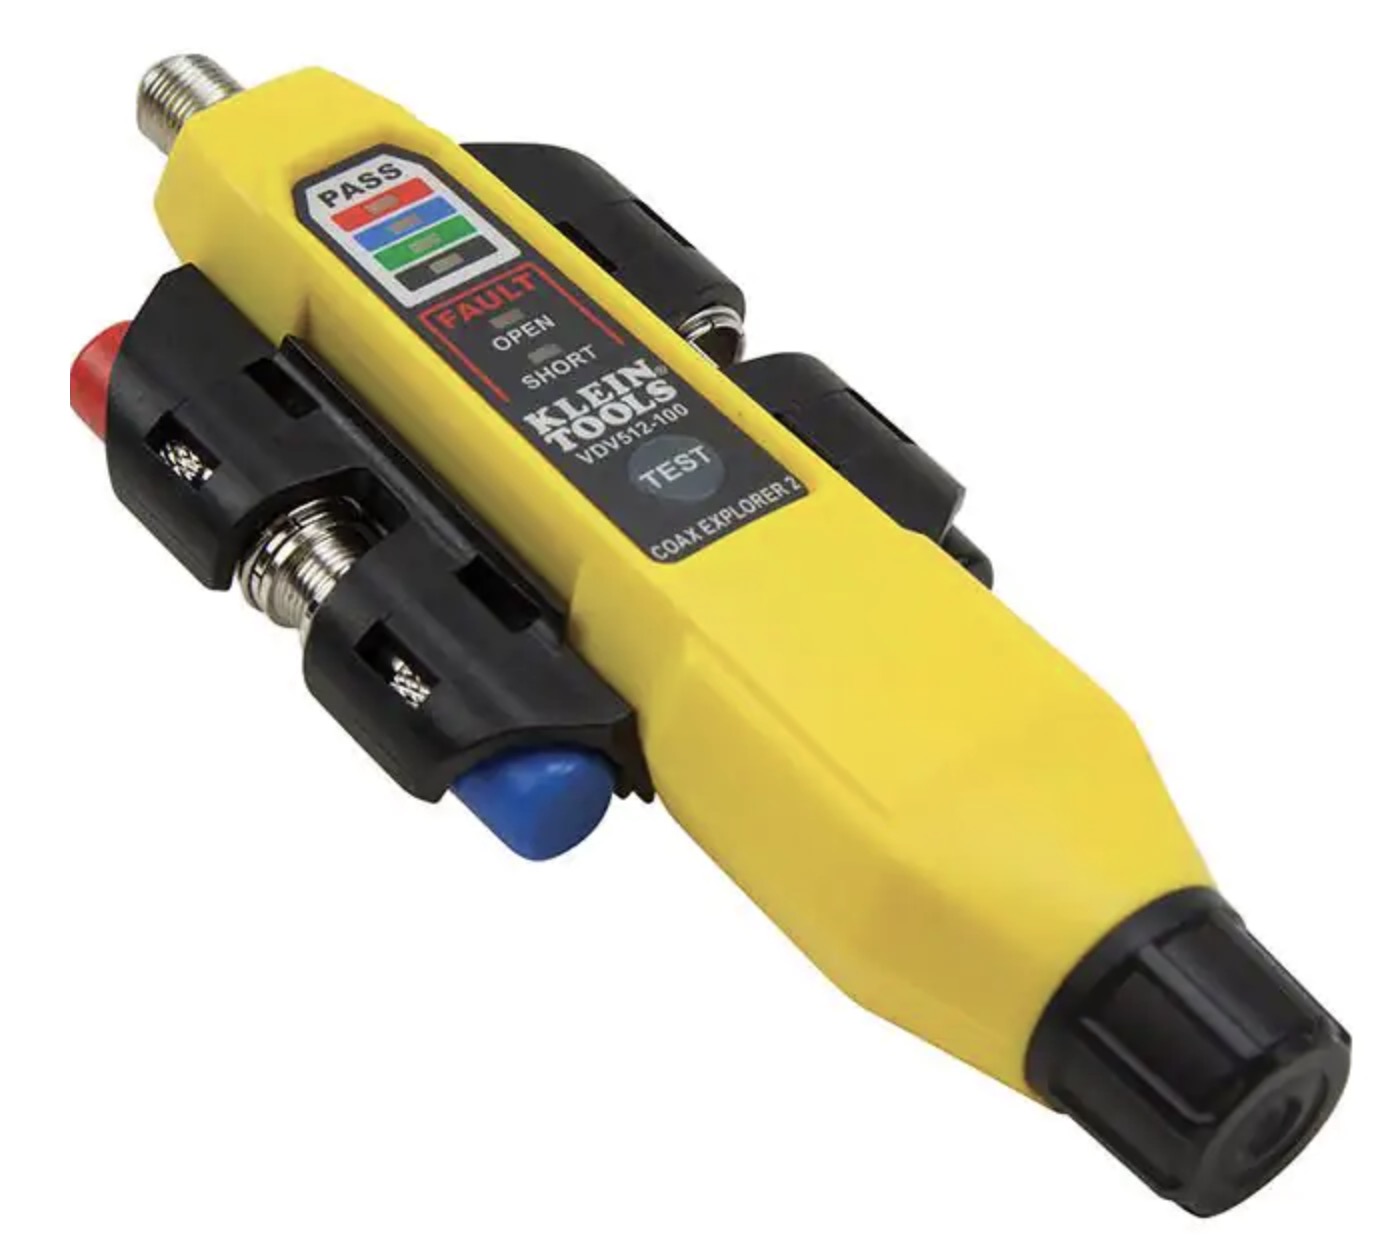
- You take each of the four colored remotes and stick them on a coax jack in your house.
- You go outside and screw each of your cable ends into the end of the Explorer.
- You check for which color indicator lights up on the Explorer.
- You make a note, mark the cable, etc. so you know which needs to connect to which.
The Explorer doesn’t work if you just stick the coax in its probe end. It needs the cable to have an actual connector, even if it isn’t completely affixed.
I had some mild luck: The one cable with a connector was the one Comcast had used to connect my Internet service years earlier, and the first cable I put a connector on and tested was the one for the living room.
2. Putting connectors on cables
To get the connector on the cable permanently, I needed two tools and some parts:
The first tool was a coax cable stripper to strip the outer insulation of each cable. It was pretty easy to understand. Just stick the cable in one side, thread it until it’s poking out the other side, twist, pull, done.
The second tool was a coax crimper and coax compression connectors.
The crimper and connectors also did not come with a manual, but that was pretty easy to figure out, too. You just feed the wire through the back of the connector until it stops, slide the cable into the crimper with the wire end pointing into the handle end, and squeeze. The wire should poke about 1/16" out of the end of the connector.
3. Connecting the cables
There are two ways to connect the cables. A very practical friend pointed out that if all I wanted to do was connect up two rooms, all I needed to do was connect two wires. So to just get things working, I took that approach.
If I’d known what I was looking for ahead of time, I would have noticed that my house had several of these left behind from previous installers, but I didn’t notice, so I bought a few coax female adapters. You just screw them into each of your cable connectors and they’re set.
Once I got everything working with just two cables and decided to go back and add another pair of rooms, I wrote the female adapter off as a loss and used a coax splitter.
If you are as literal-minded as I am, you might wonder why one would use a splitter to join cables. The literal reason is that you’re assumed to be using the splitter to take signal from one incoming cable off some source (the drop from the street, for instance) and split it across multiple cables into the home (for, e.g. multiple cable provider set-top boxes).
Splitters also connect all those cables, though, so there you go.
MOCA does require splitters rated for the frequencies it uses, so I got one specifically rated for MOCA applications.
You also need to terminate each of the coax ports you aren’t using, so I got a pack of covers.
Connecting everything
By the time I got back in the house from connecting the right cables, the downstairs Eero was showing that it had a 1 gig connection off the MOCA drop. A quick visit to Speedtest from my phone standing there in the living room showed me I was pulling 750Mbps. Without connecting to the same switch down there, I don’t know what was being lost to what, but given that was a 3-4x improvement, and over 75% of my connection’s speed, I didn’t care to satisfy my curiosity.
I was heartened enough by my success there that I added two more drops:
One is in Ben’s room, which is also a tv room when he’s at school. It has his PC, a Playstation 4, an AppleTV, a smart TV, and a Sonos playbar. I put a switch in there and connected all the devices to it and connected it to a MOCA adapter, and am pulling upwards of 920Mbps according to the Speedtest app on the AppleTV.
I put a last-gen Eero AP and connected it to a MOCA drop in Al’s office. She was in the worst part of the house: A floor and a wall away from the living room, two walls and a bend in the hallway away from the office, which always had the door closed because our cats are horrible. When the Eero and iPhone cooperate enough to hand off between access points, she’s getting 4-5x the speeds she was getting in there, even with it hidden. I suspect that access point, overlooking our covered patio in the back, will provide a little better connectivity back there now, too.
The current final state
If I had found a guide that covered everything I had to figure out in one place, the most “handy” part of the process – doing the coax discovery and connecting the cables – would have taken about 15 minutes. Connecting the MOCA connectors is literally just a minute apiece not counting moving furniture out of the way. The Eeros didn’t need to do anything once they were on wired connections: They just pick that up and go with it.
It’s apparent there’s a little signal loss going on with MOCA, but it’s hard to complain with wired connection speeds at 98 percent of my top speed straight into the router and 600-750Mbps speeds in any room where you’d care to bring a laptop or iPad.
Putting a MOCA drop in Ben’s room and adding a switch allowed me to take the greediest devices in the house off the wireless network and reposition the Eero base for better day-to-day coverage.
I wish I’d known about MOCA earlier. For not a lot of cost and very little time it provides great connectivity, improves your Wi-Fi experience, and provides more opportunities to wire things up, improving the experience for things that need Wi-Fi even more.